One or two of you have enquired about the progress of my boat. So, here is an editied history for you.
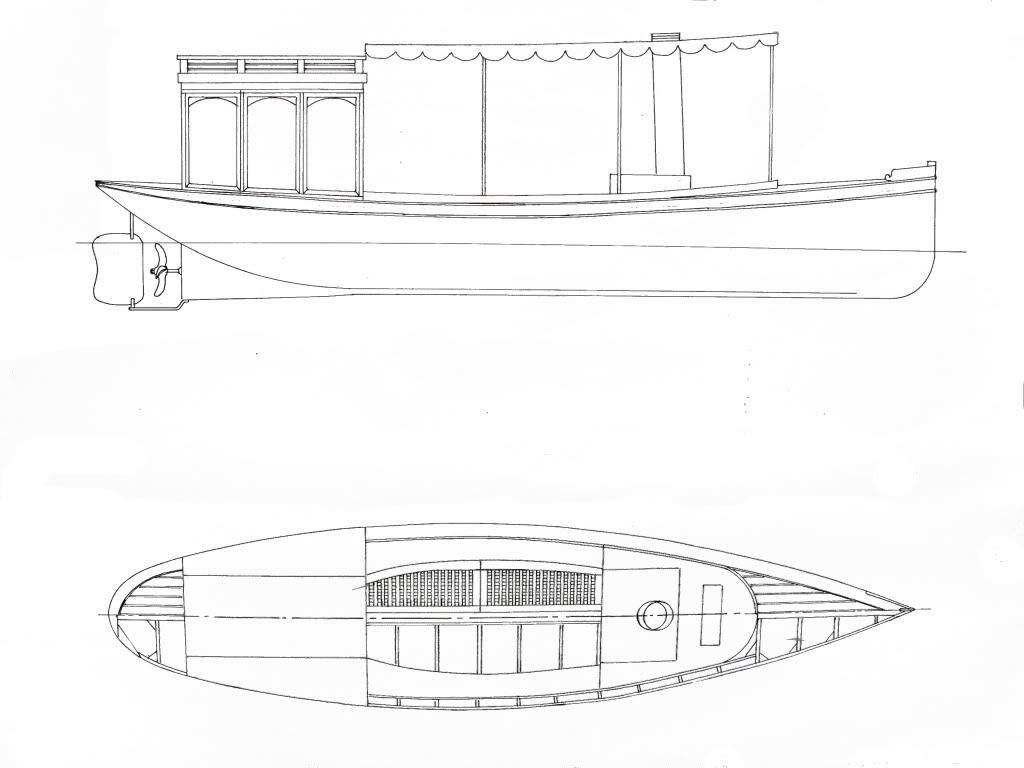
This was the image that I developed once the hull was ordered from Mr Beckmann.
Collection from the dockside at Southampton
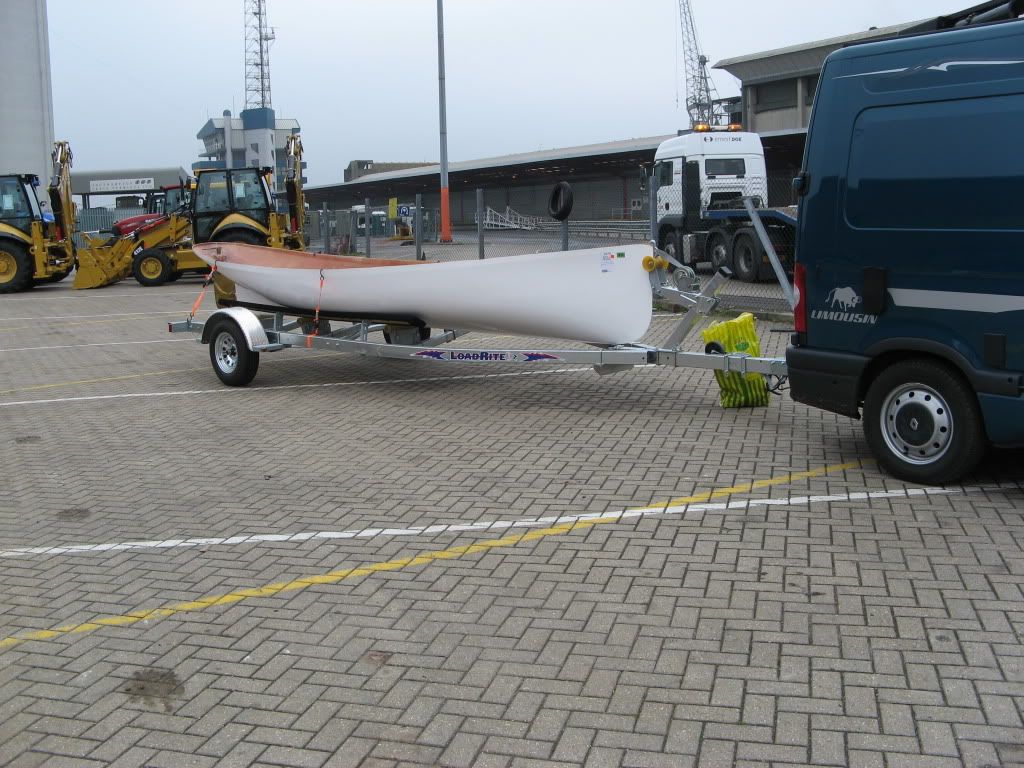
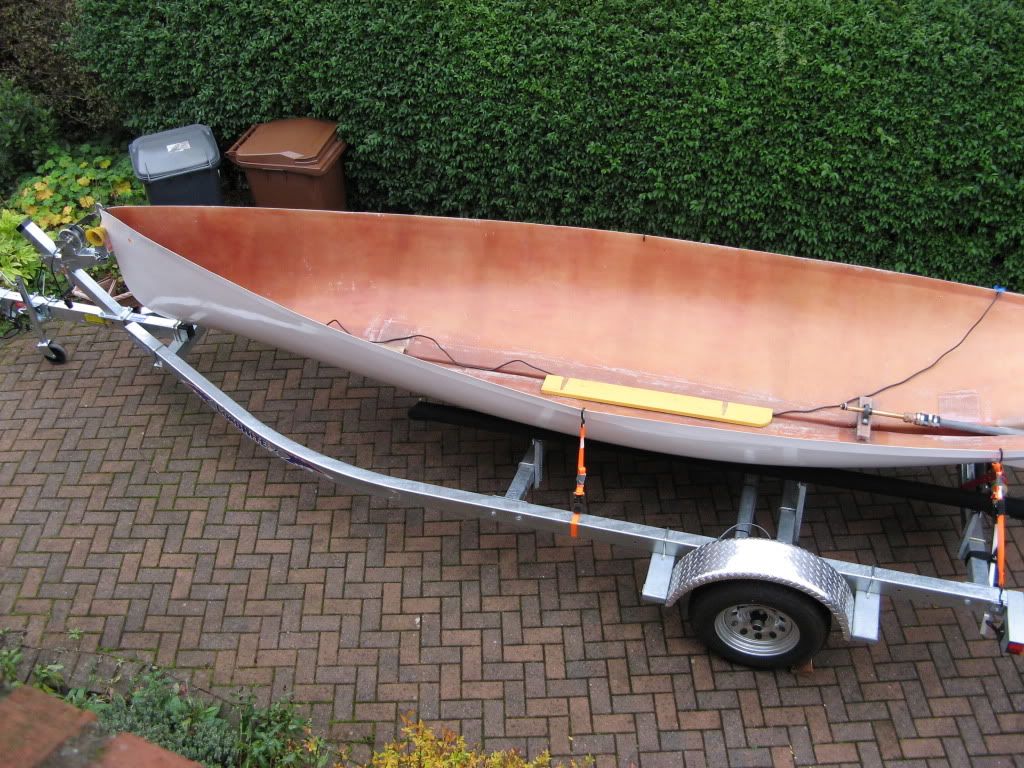
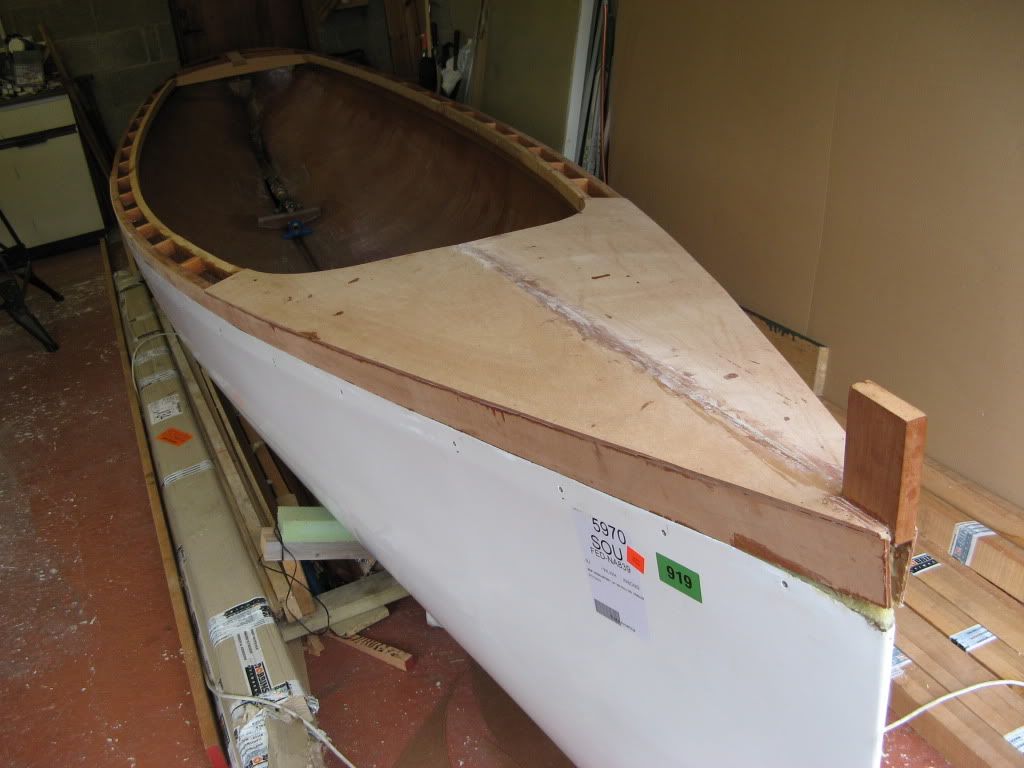
A pretty hull shape (seen from upstairs)
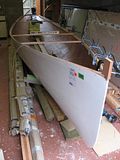
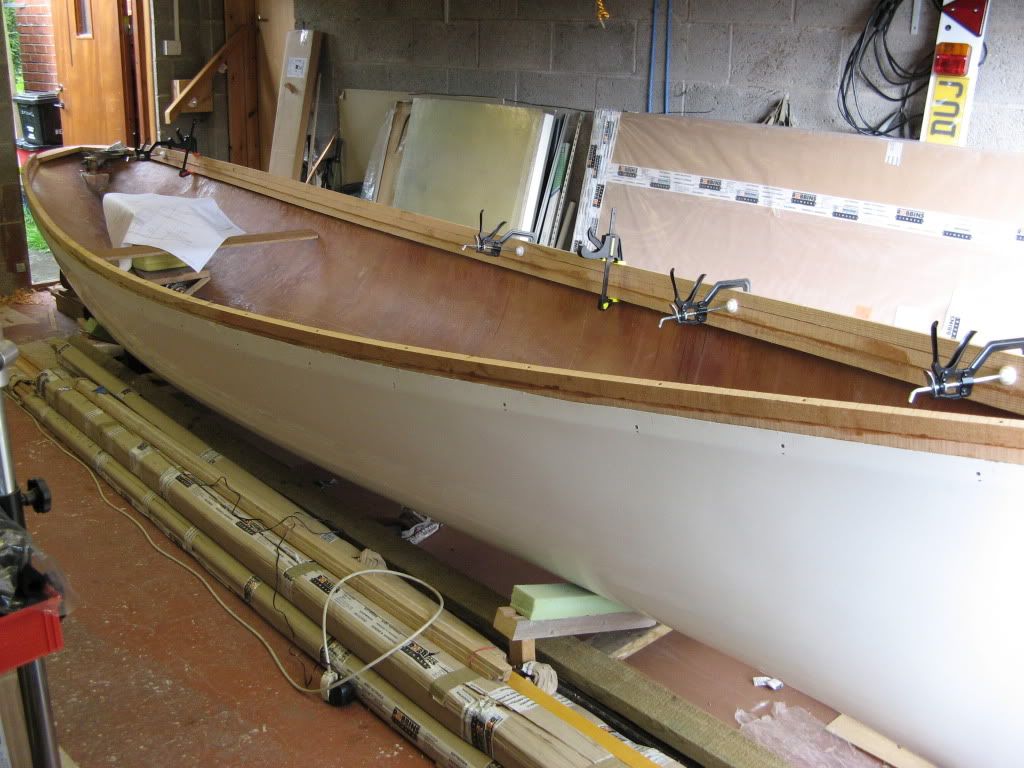
Setting up the hull and testng for level (1)
Setting up the hull and testng for level (1)
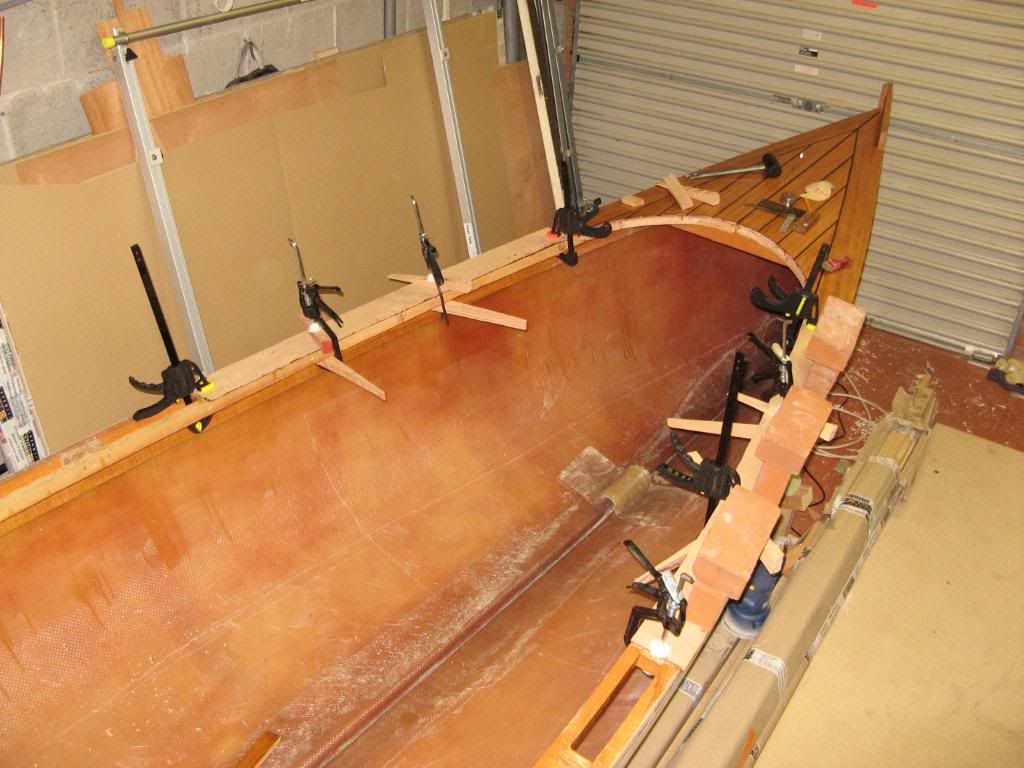
The clamps go on to fix the sheer and the beam.
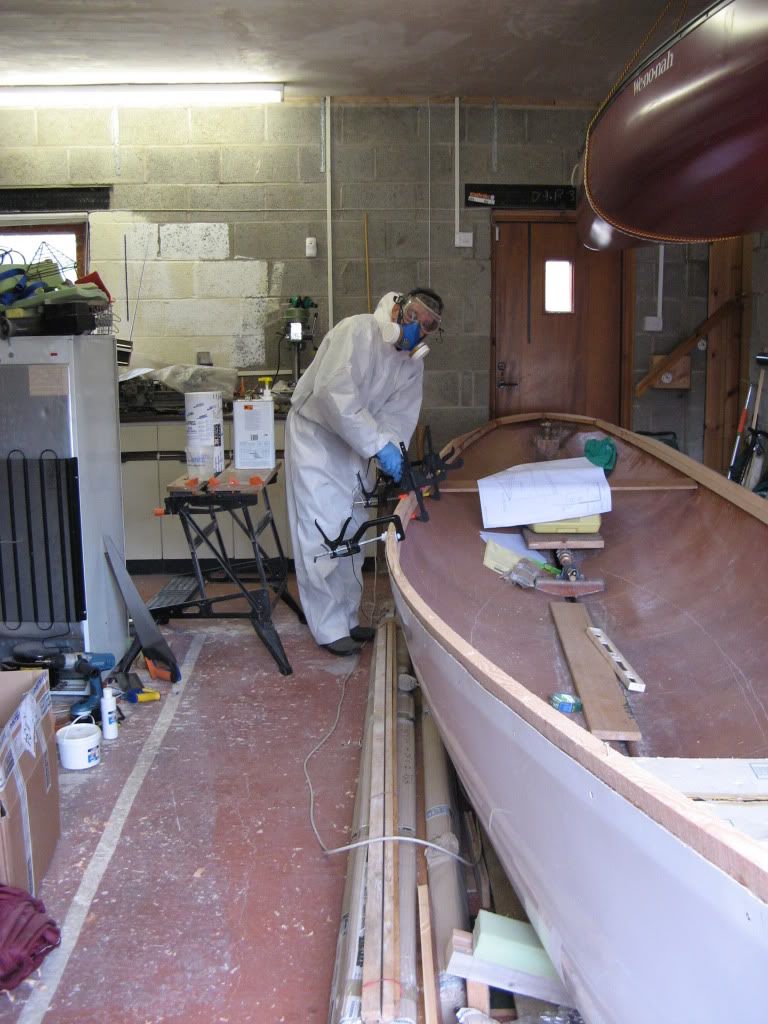
Lots of planing had to follow to get the line right.
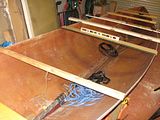
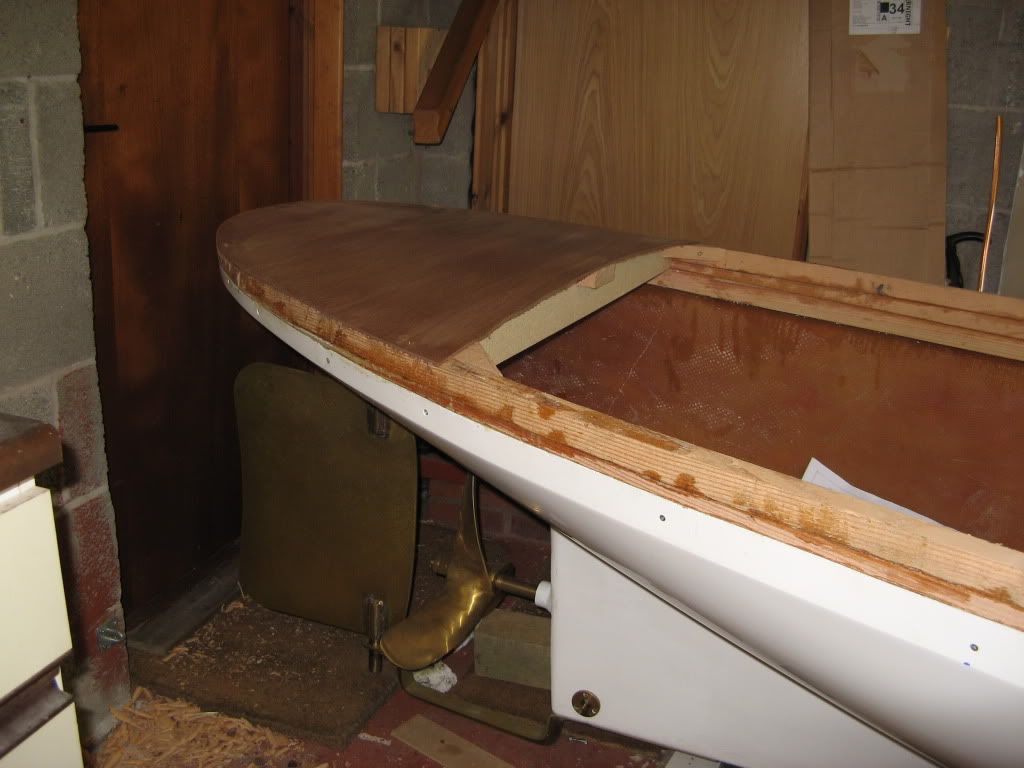
Testing deck curvature with hardboard covering and scrap for framing. One in 20 seemed right after the advice from the Forum.
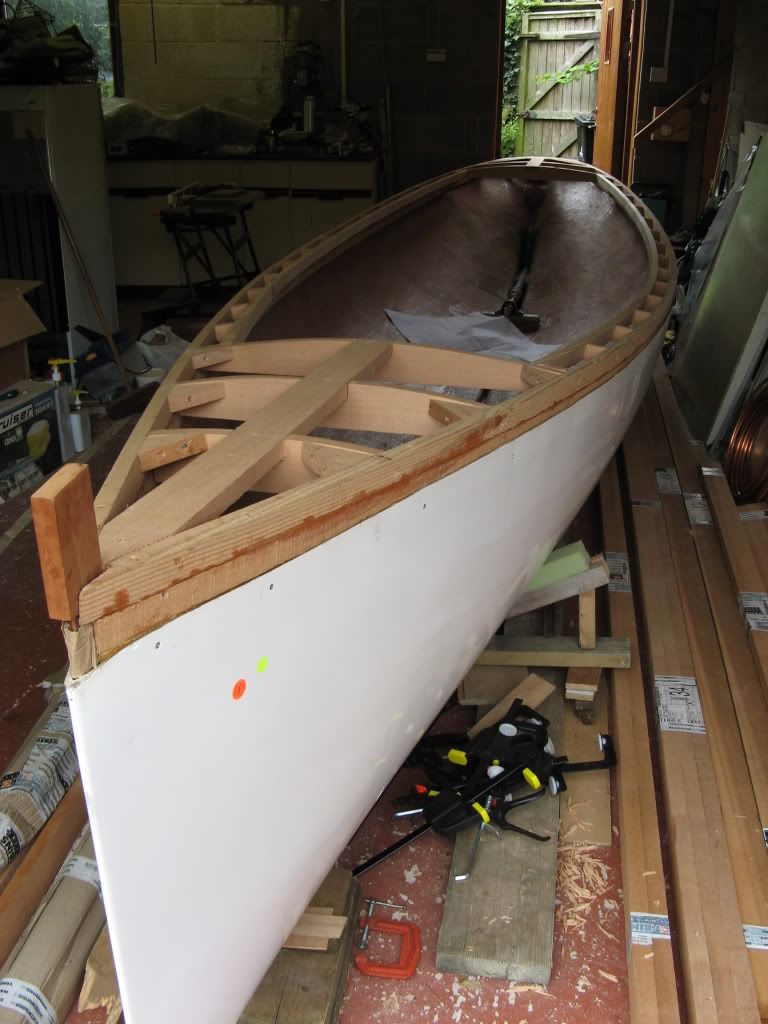
Framing out the side decks, rear and fore deck.
My "trick" to overcome the problem of the clamps rising above the top of the moulding.
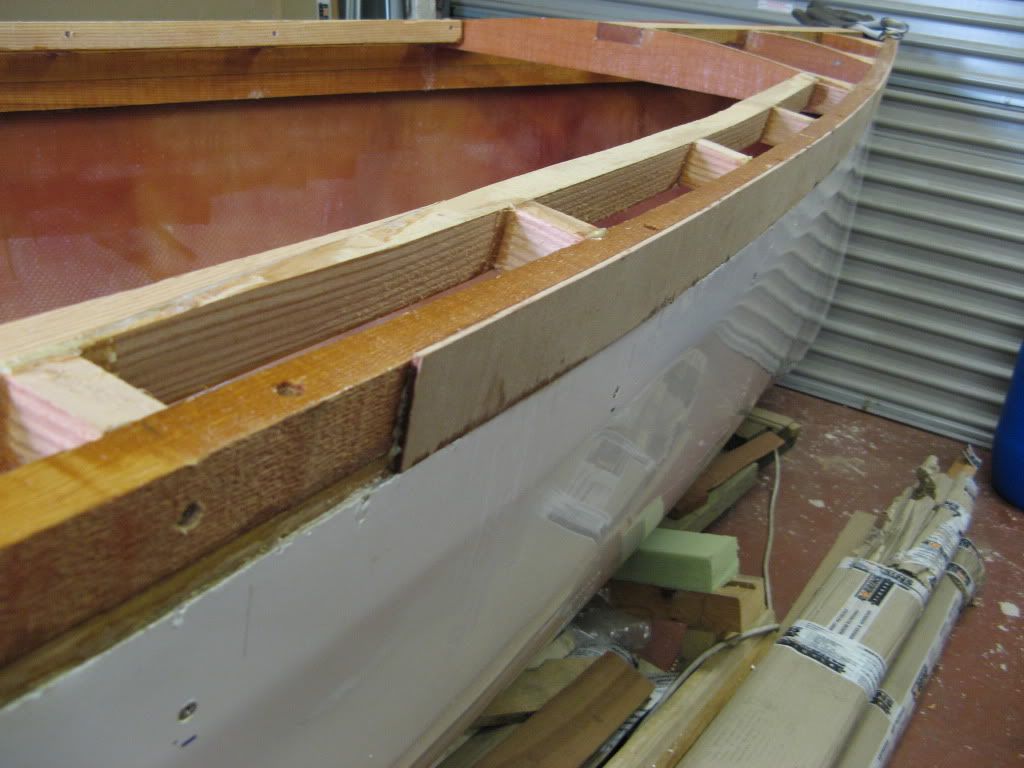
Framing the curve at the front of the cockpit (Who forgot to think about the run of the grain so as to make shaping up easy????)
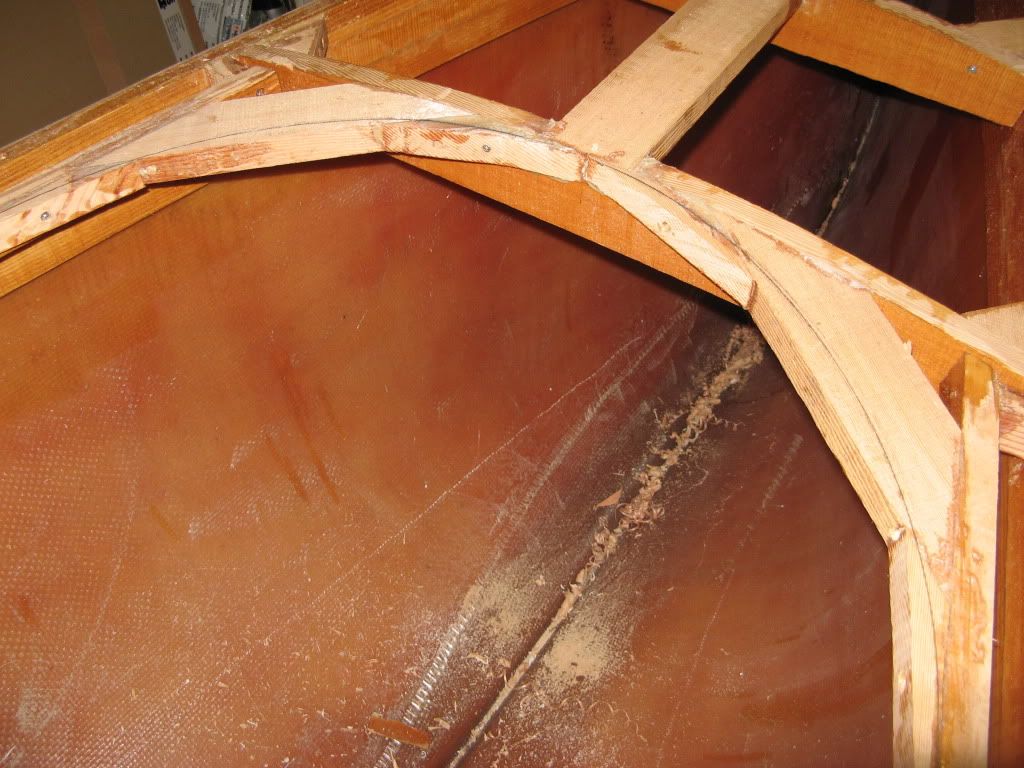
Foredeck plywood underlay.
Sticking down the mahogany veneer.
Gaps filled with Sikaflex.
Clamping the plywood side decks
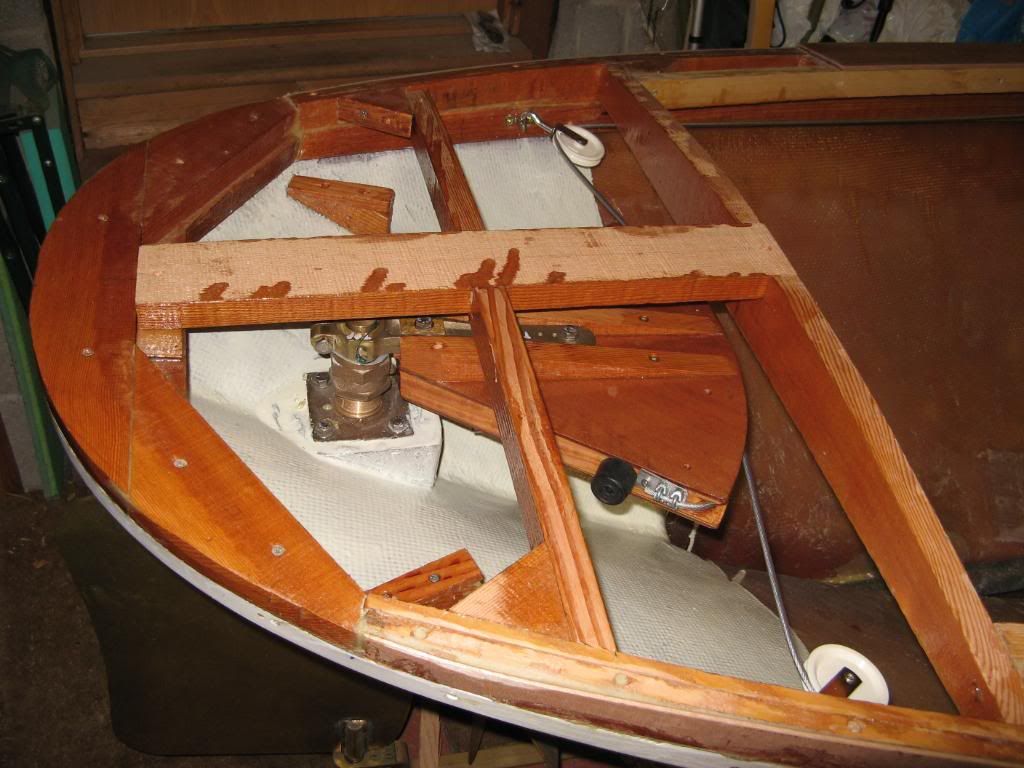
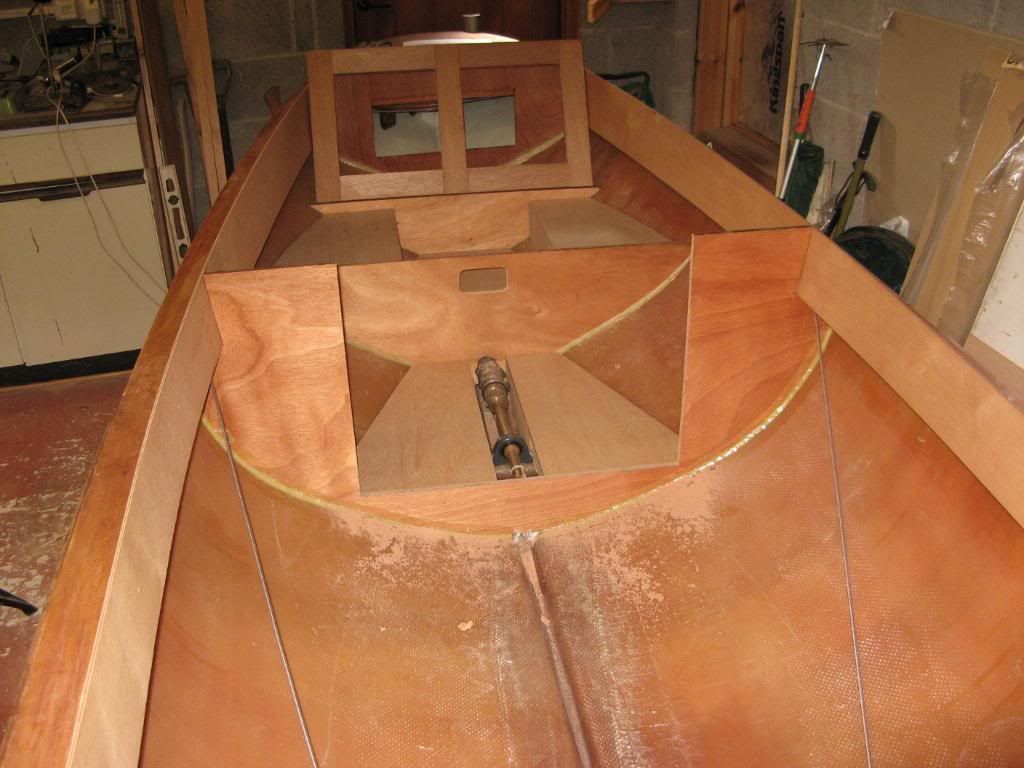
The steering takes shape.
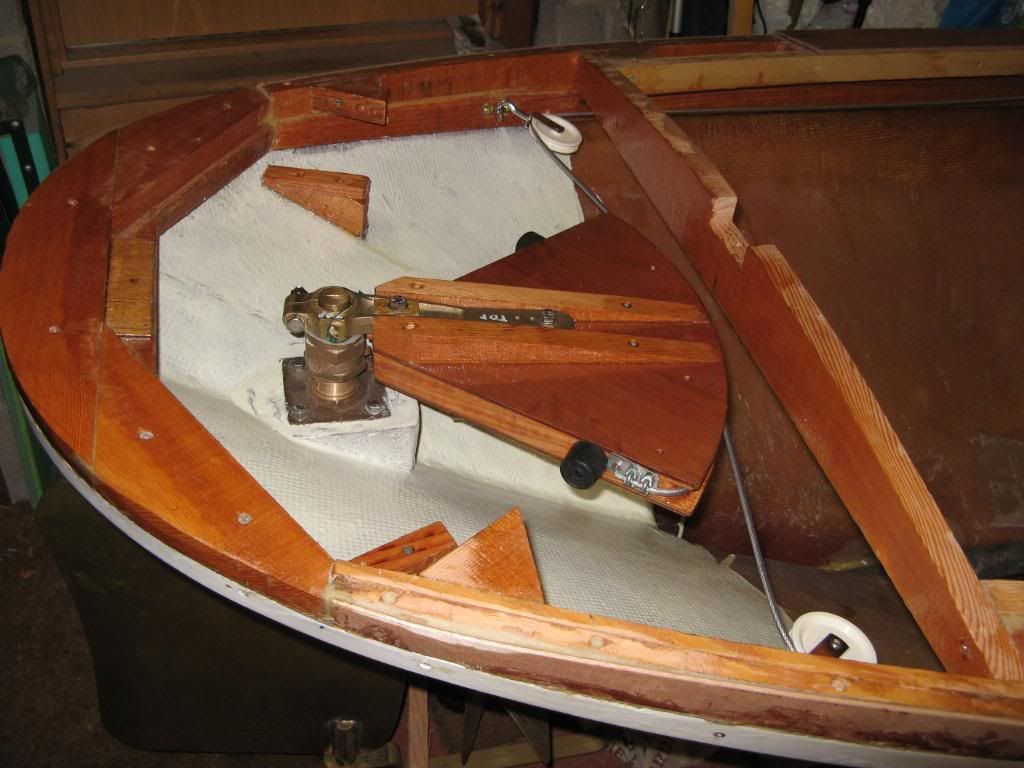
The quadrant under the rear deck framing.
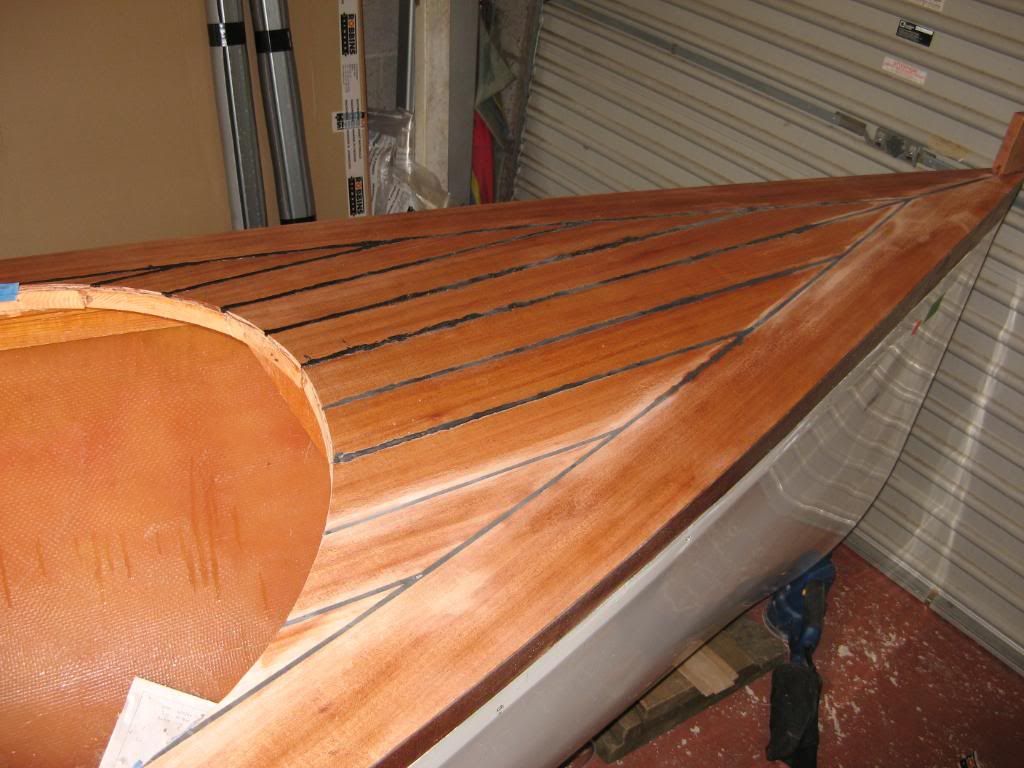
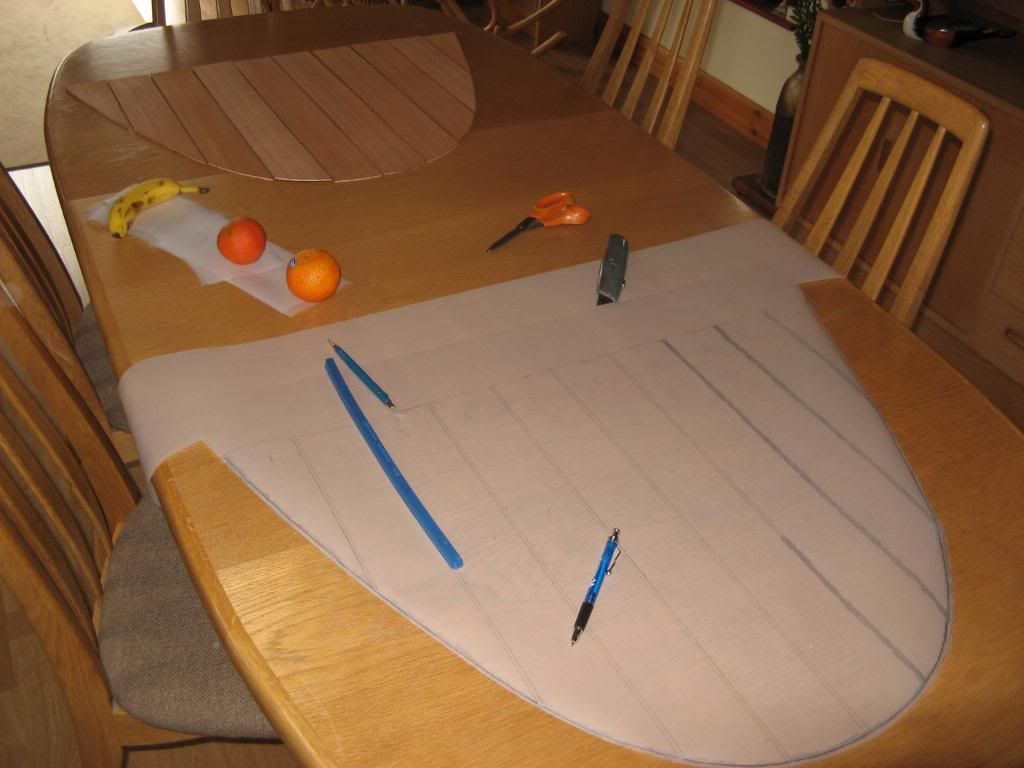
Working out the shape of the rear deck planking
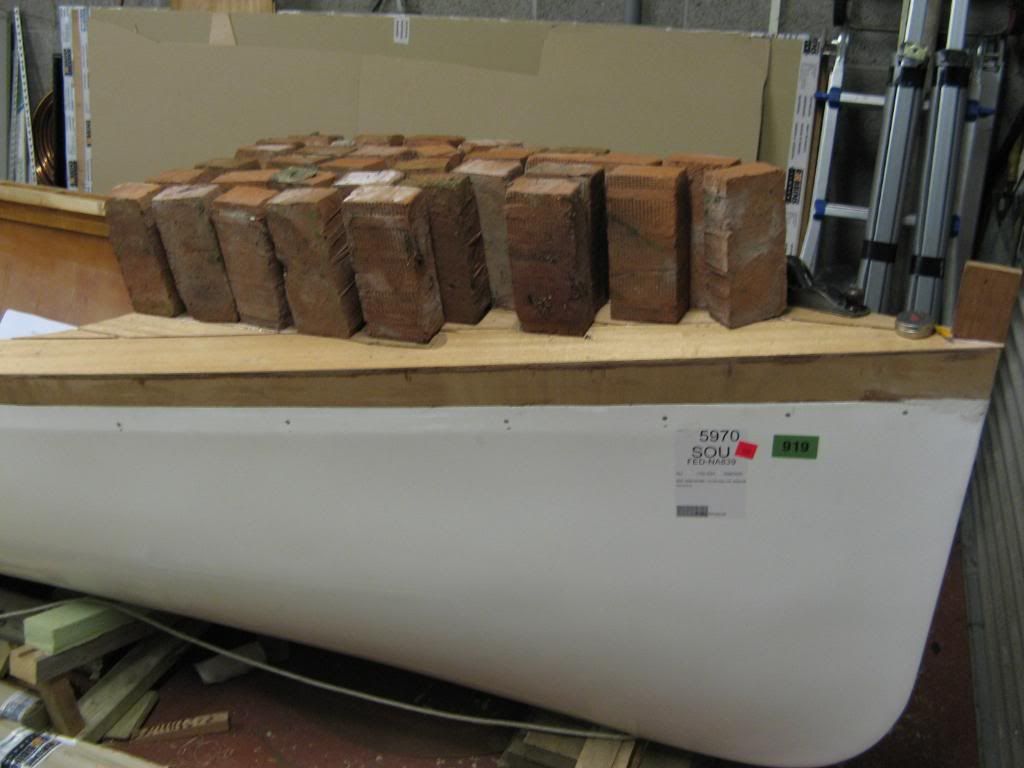
Sticking down the strips
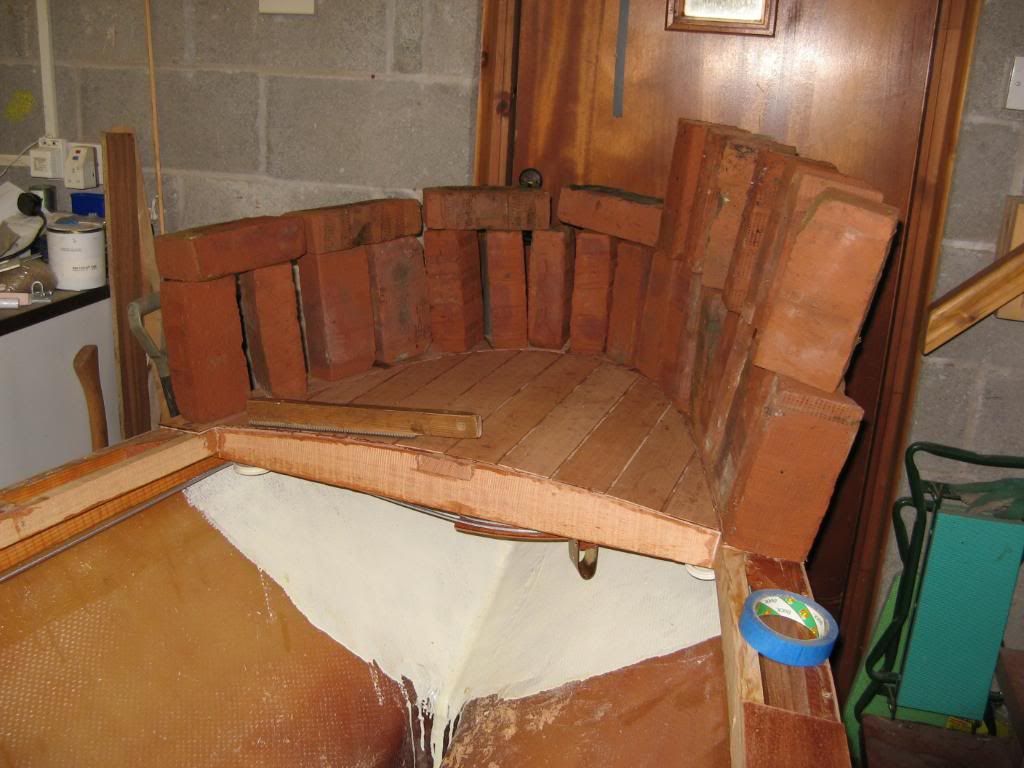
Brickhenge???

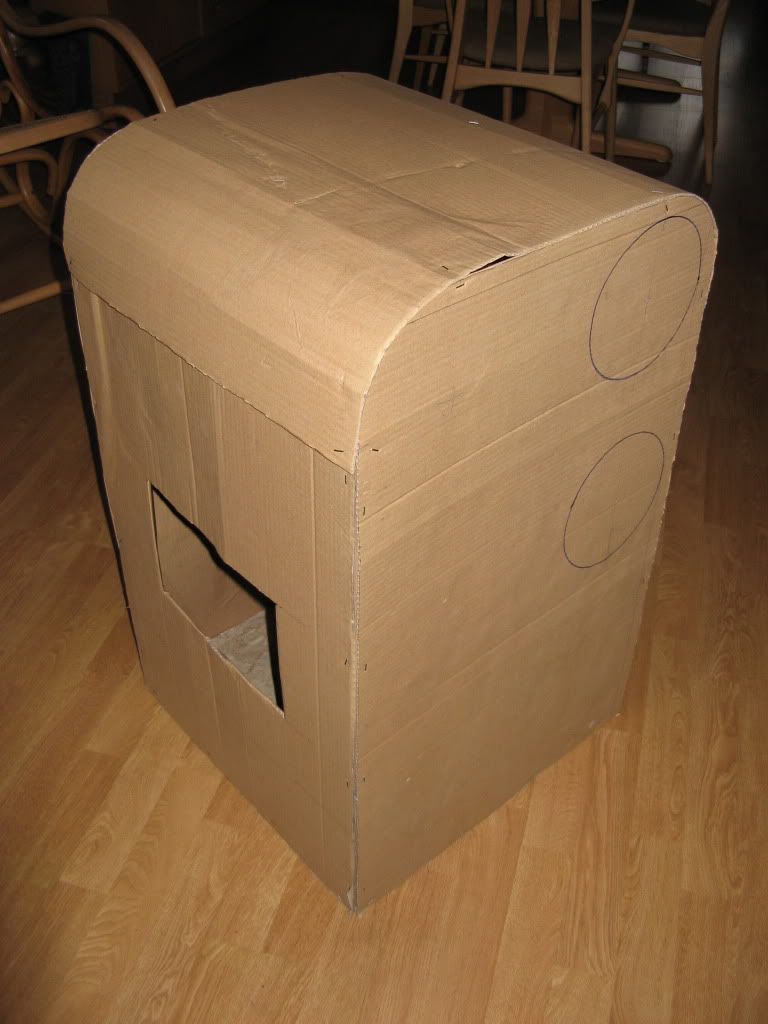
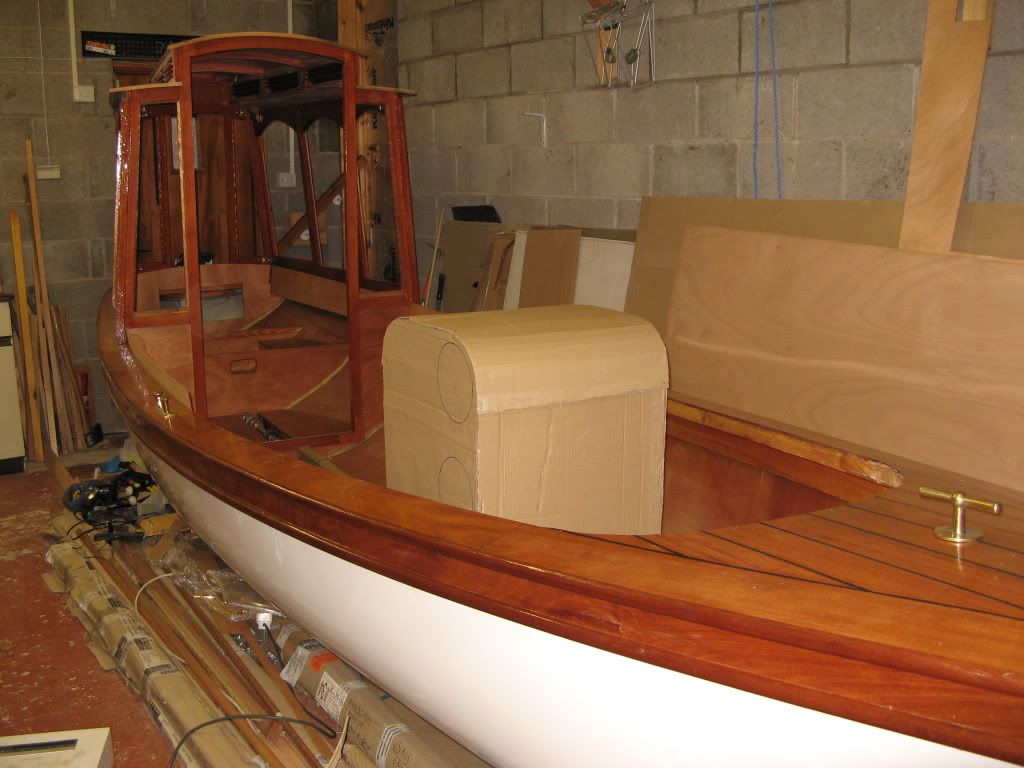
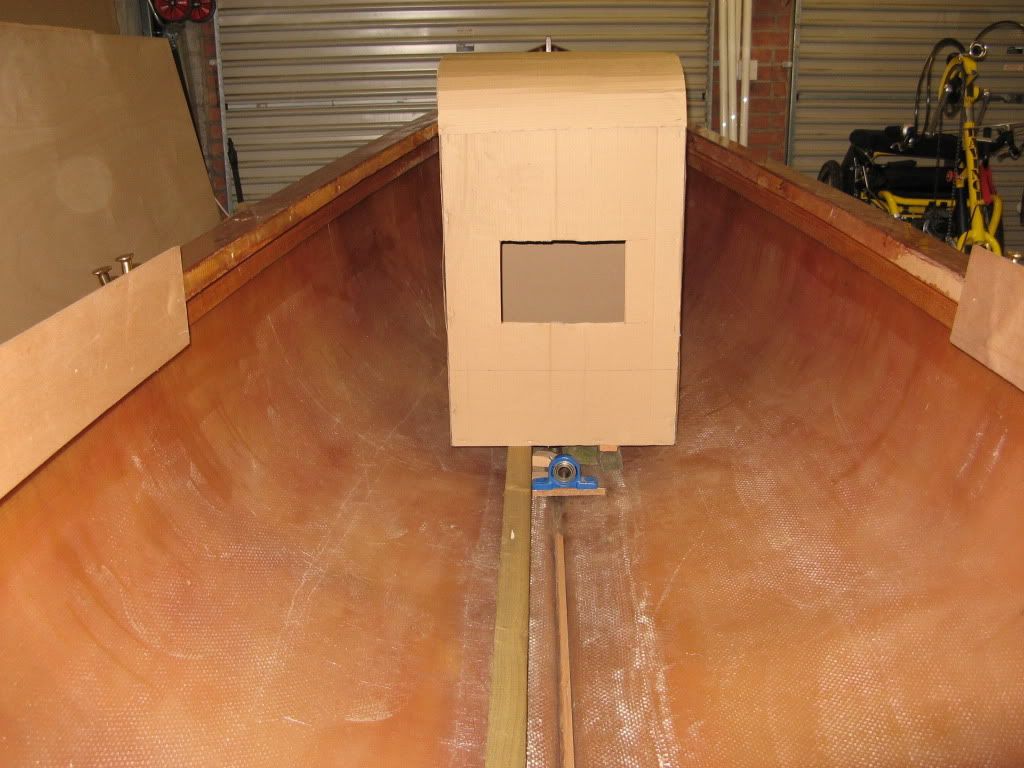
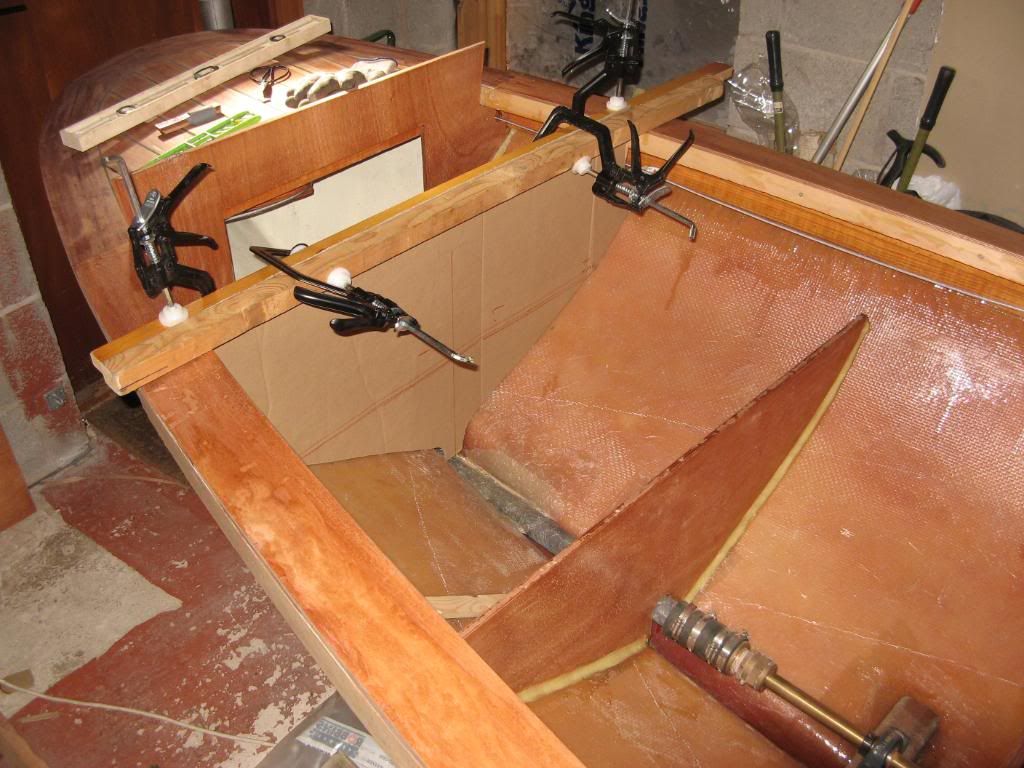
Bulkheads - In cardboard
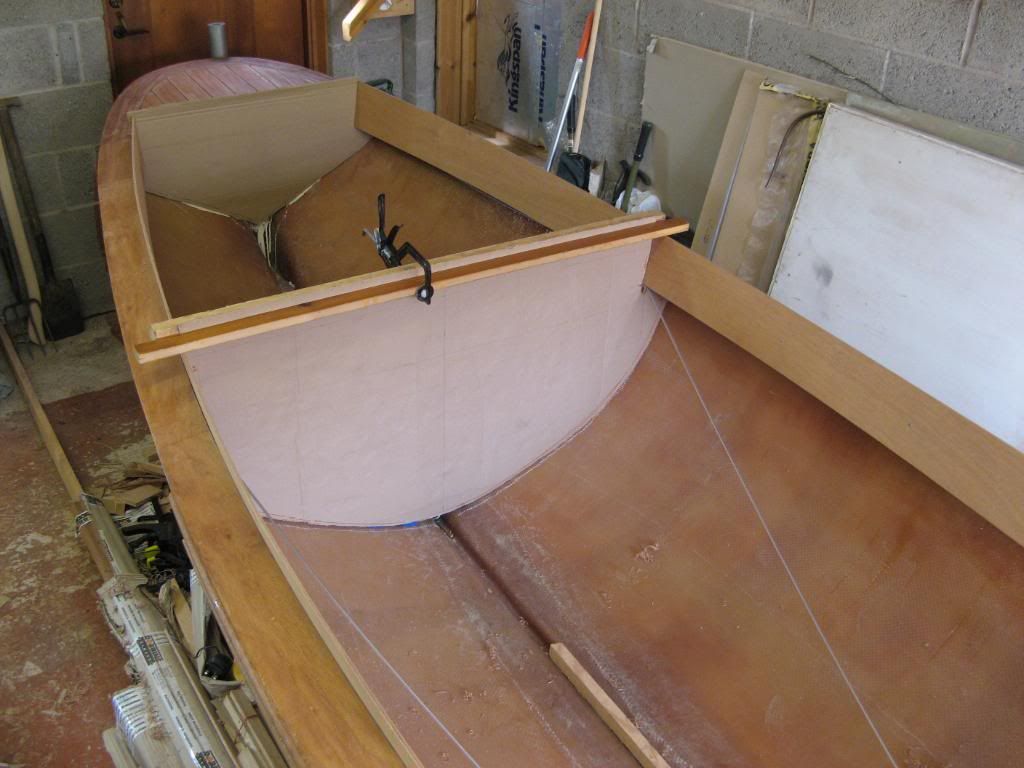
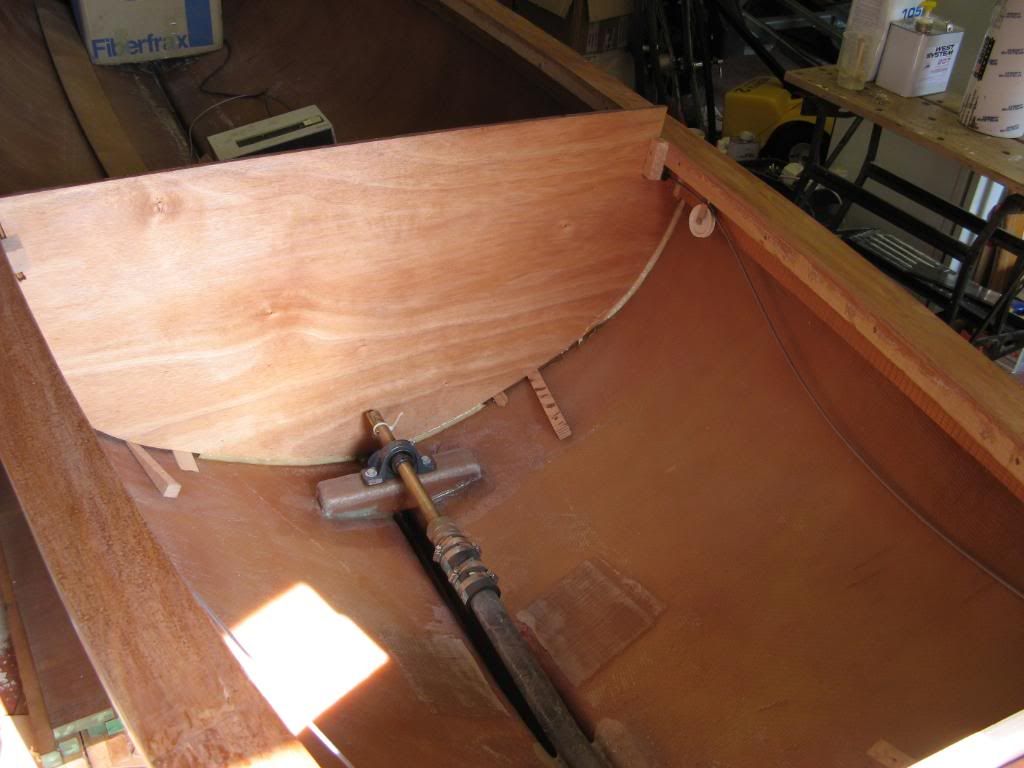
Bulkheads - Then plywood
Cabin doorway cut out.
Door frame begun
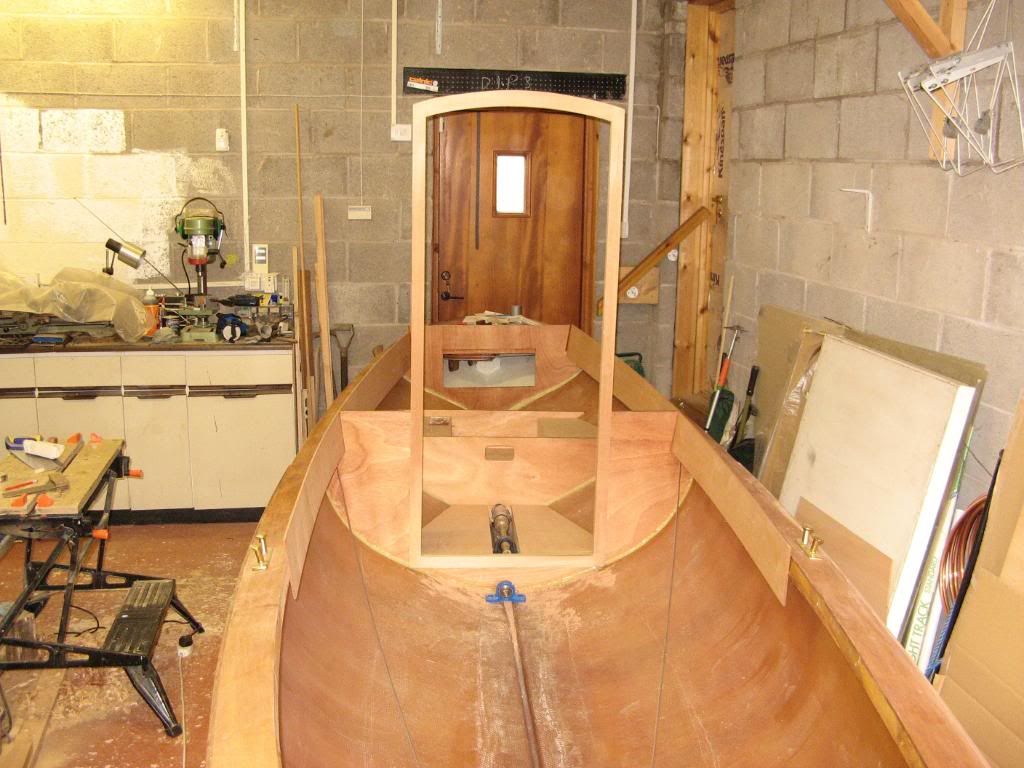
Side windows added
Testing for size
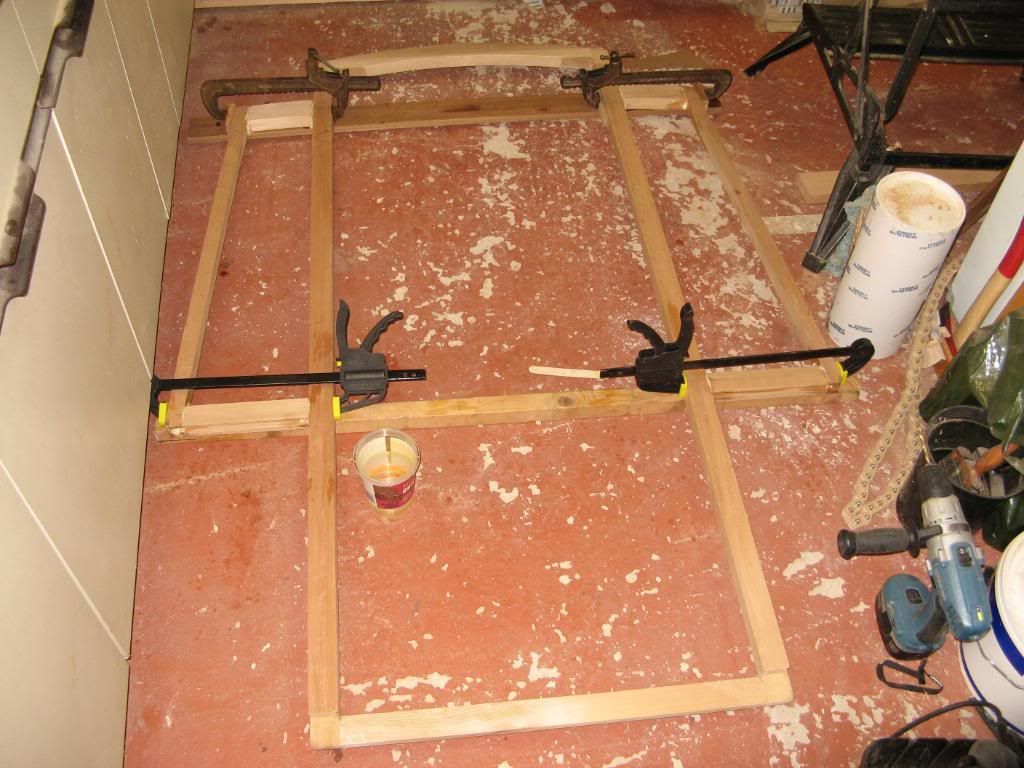
Cabin rear frame trial.
Side Frame and bits of the roof trial.
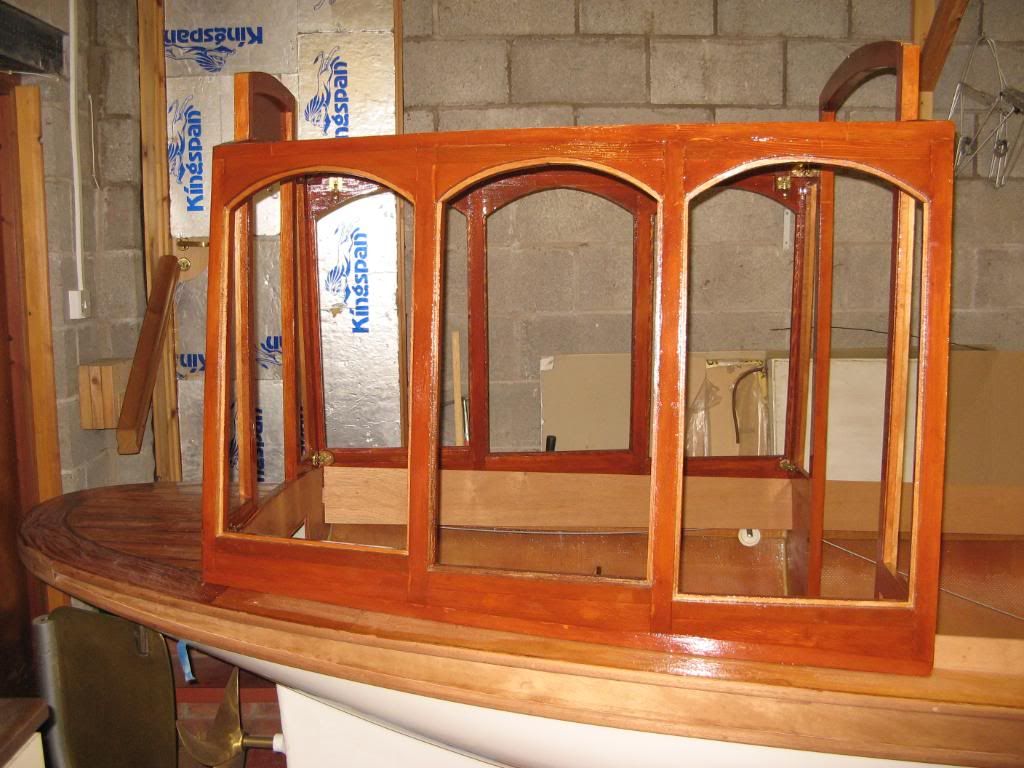
Window shaping next.
Then some mahogany stain.
And not forgetting a roof...
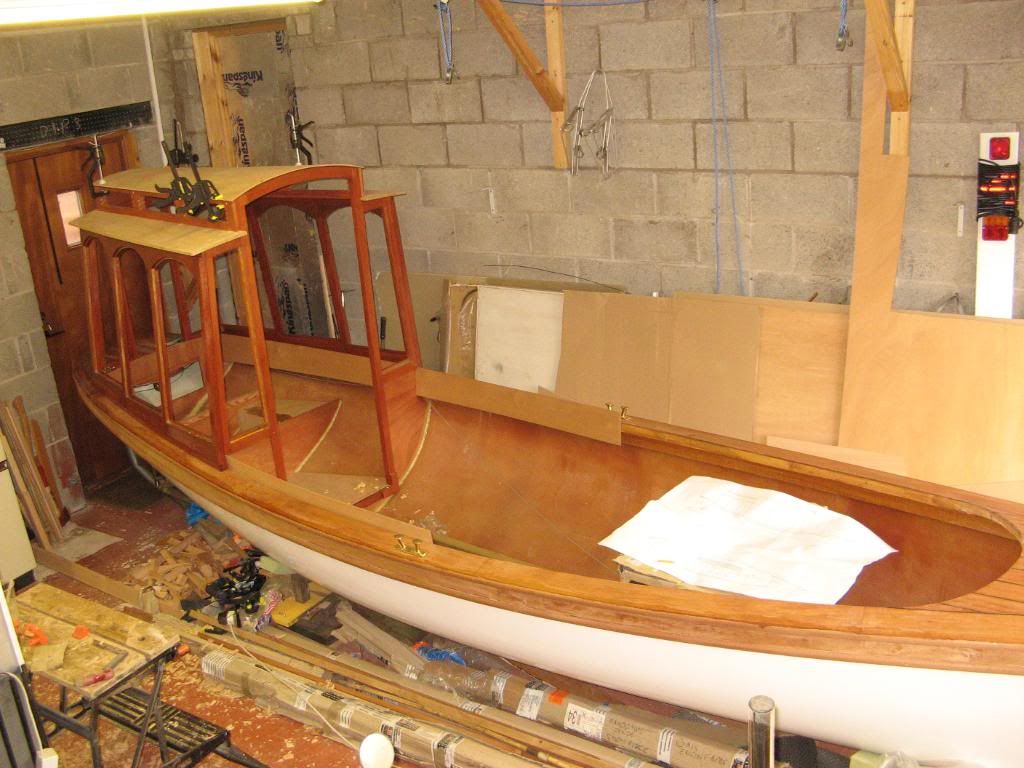
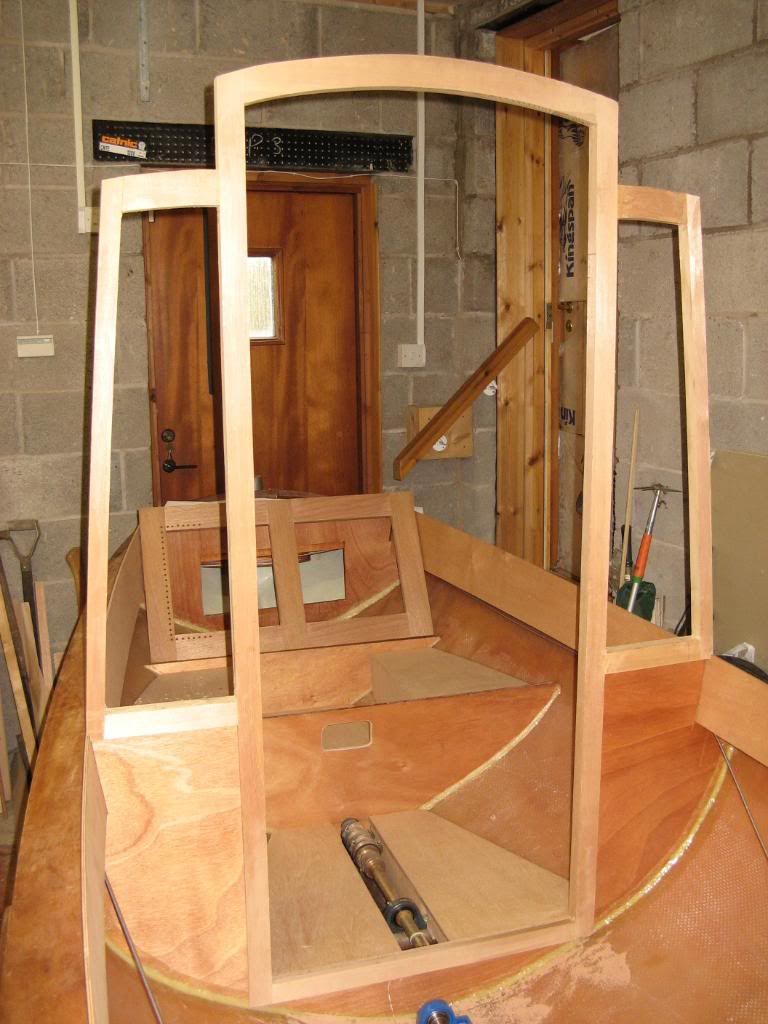
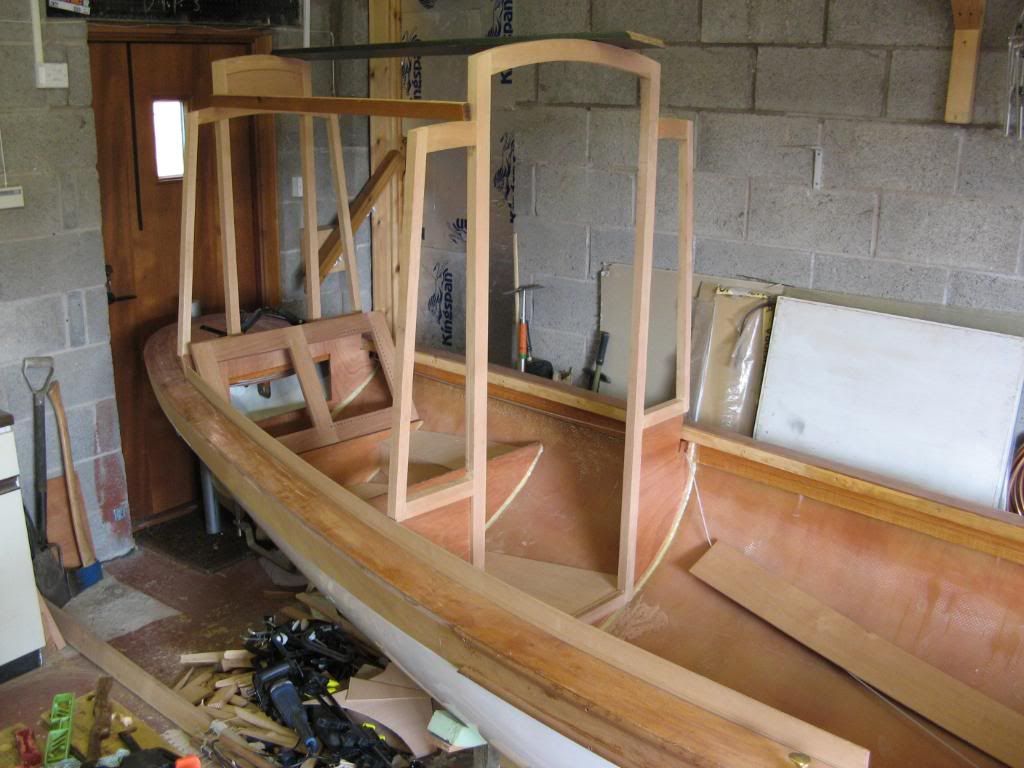
The folding cabin - Front and one side set up and clipped.
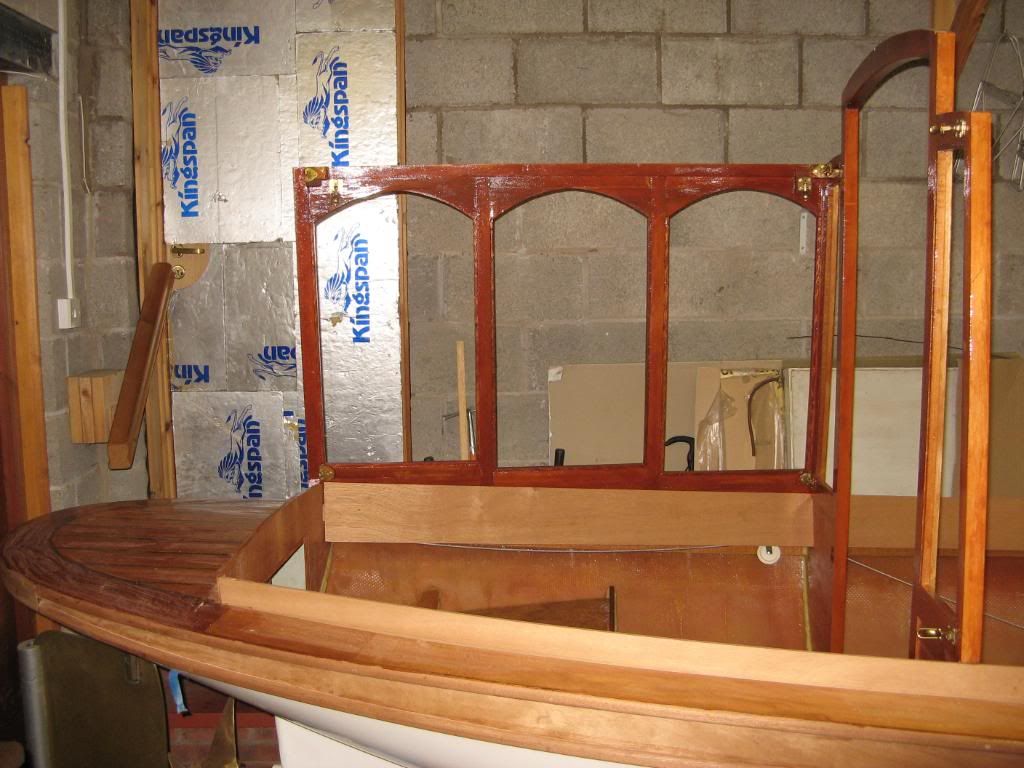
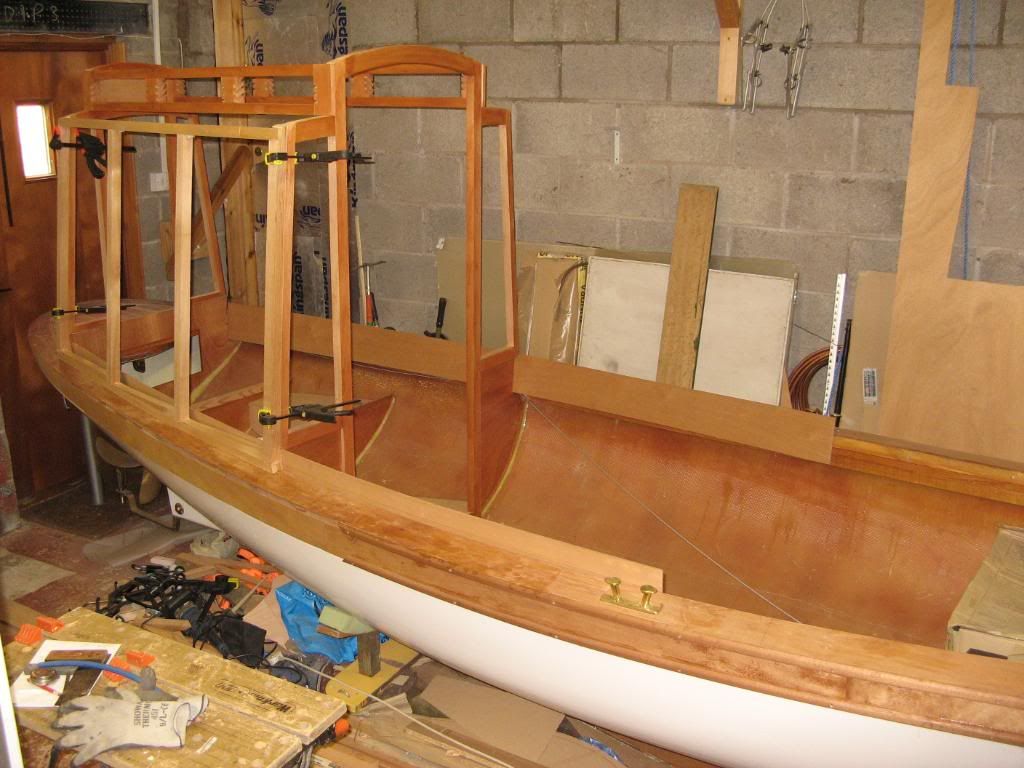
The folding cabin - Now add the rear frame.
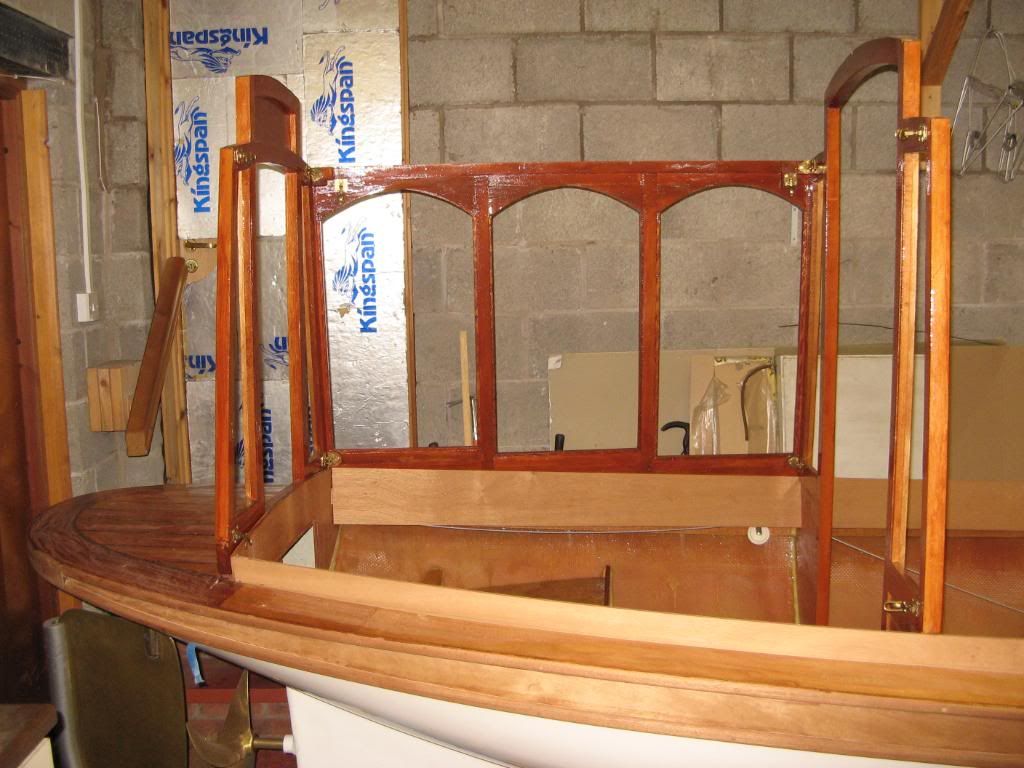
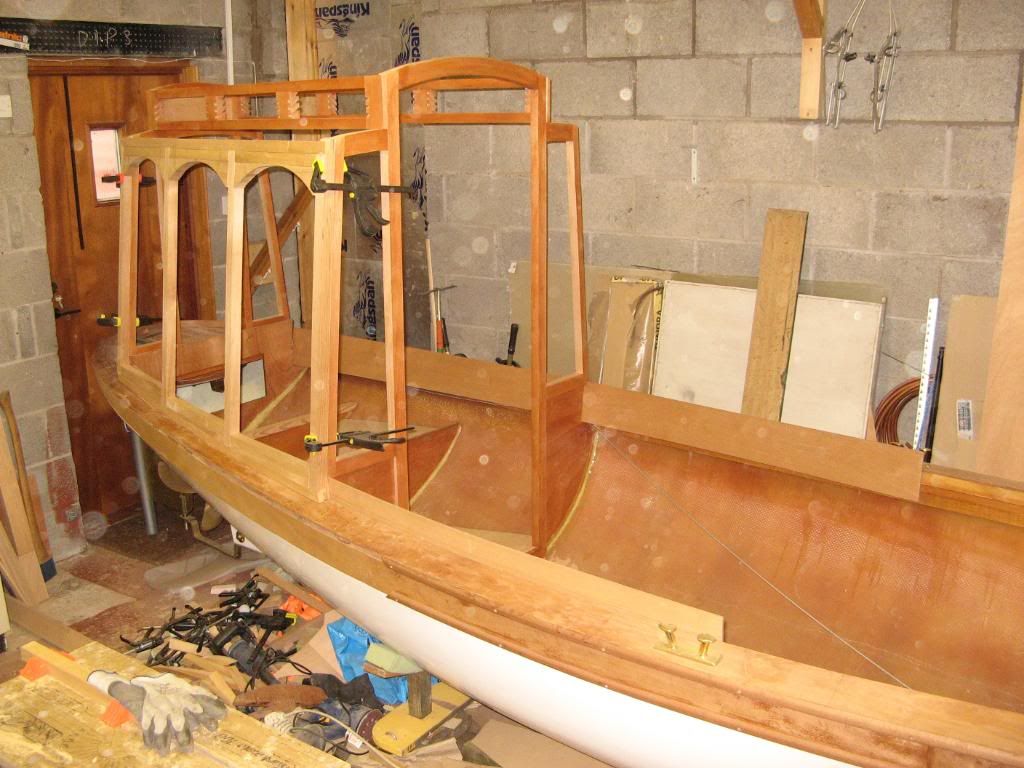
The folding cabin - Then the starboard side frame
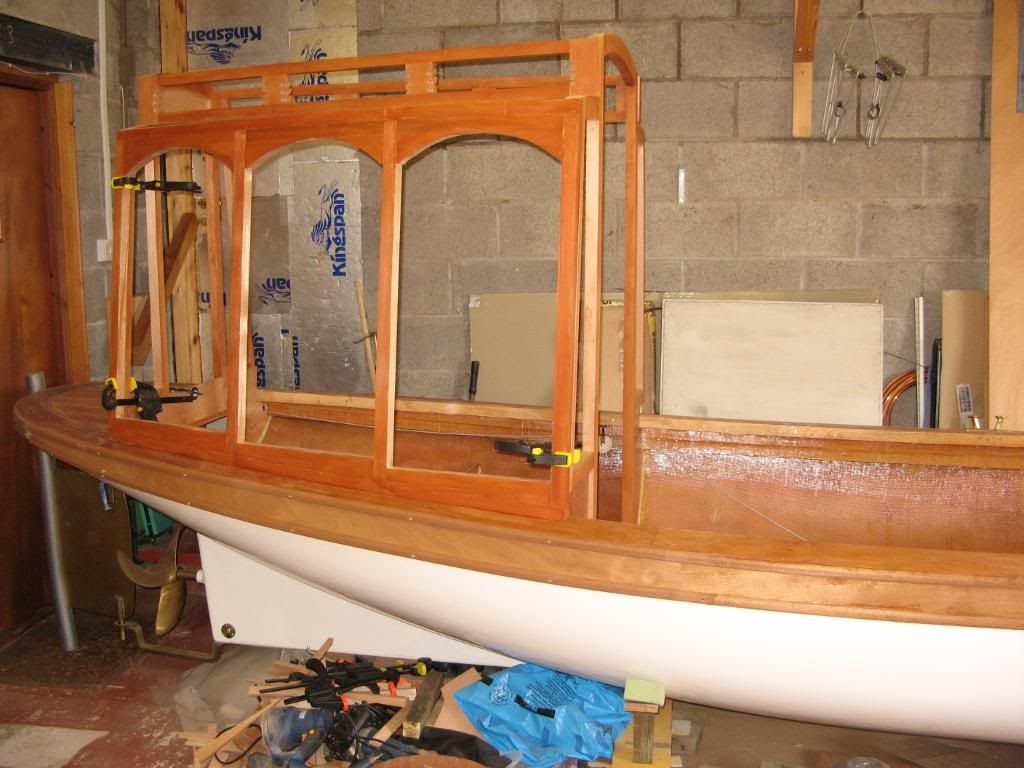
The folding Cabin - And finally the roof.
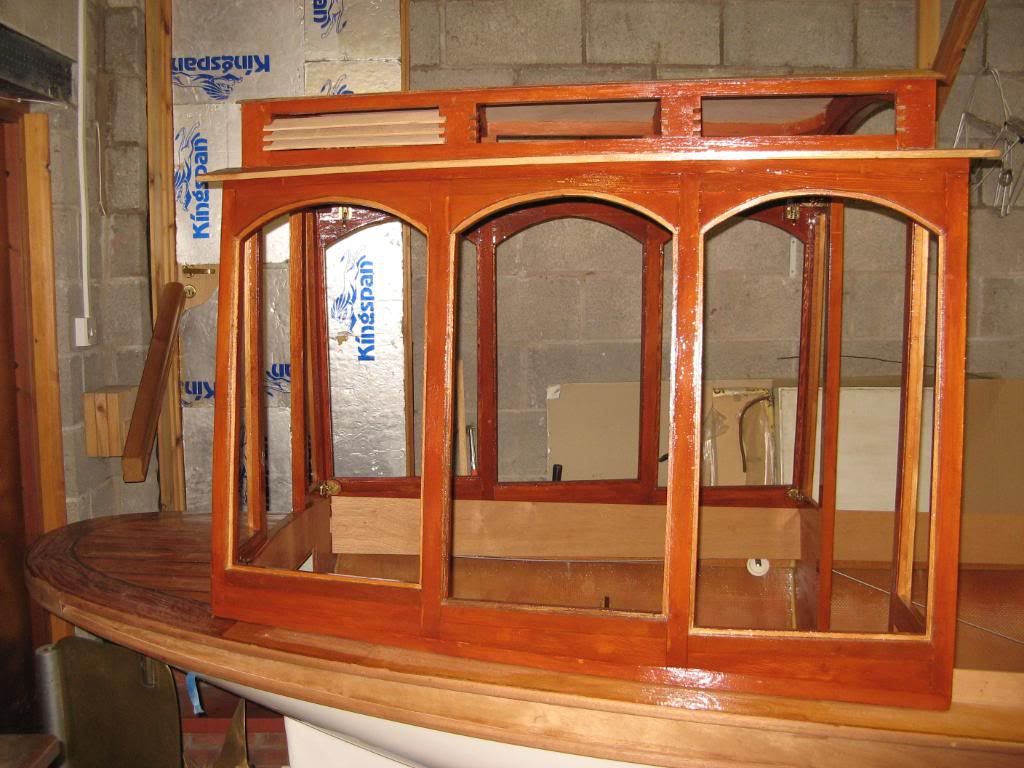
Still well short of finished!