I think the next step is to build a crankshaft, but I want some opinions.
At this point I'm not exactly sure what kind of steel the webs were cut from.
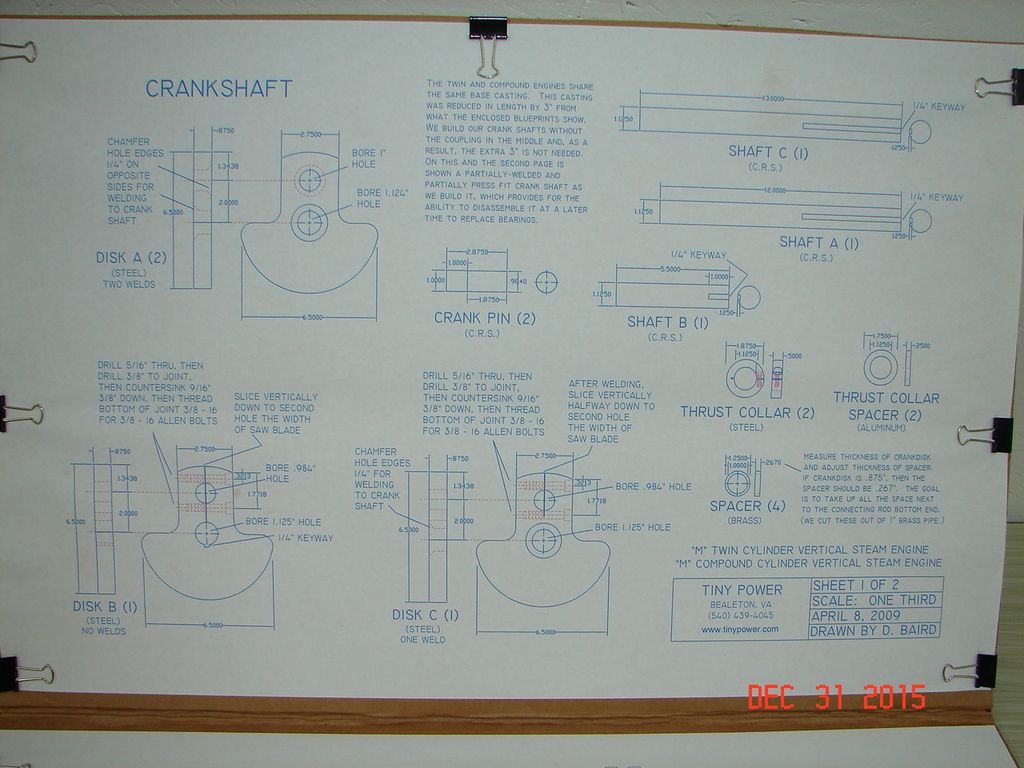
On the crankshaft print it says to use C.R.S. (cold rolled) for the shaft but there are a lot of CR steels. I'm thinking 1018 or 1045 since both of those are available with a ground finish and both are easily welded. Good choice?
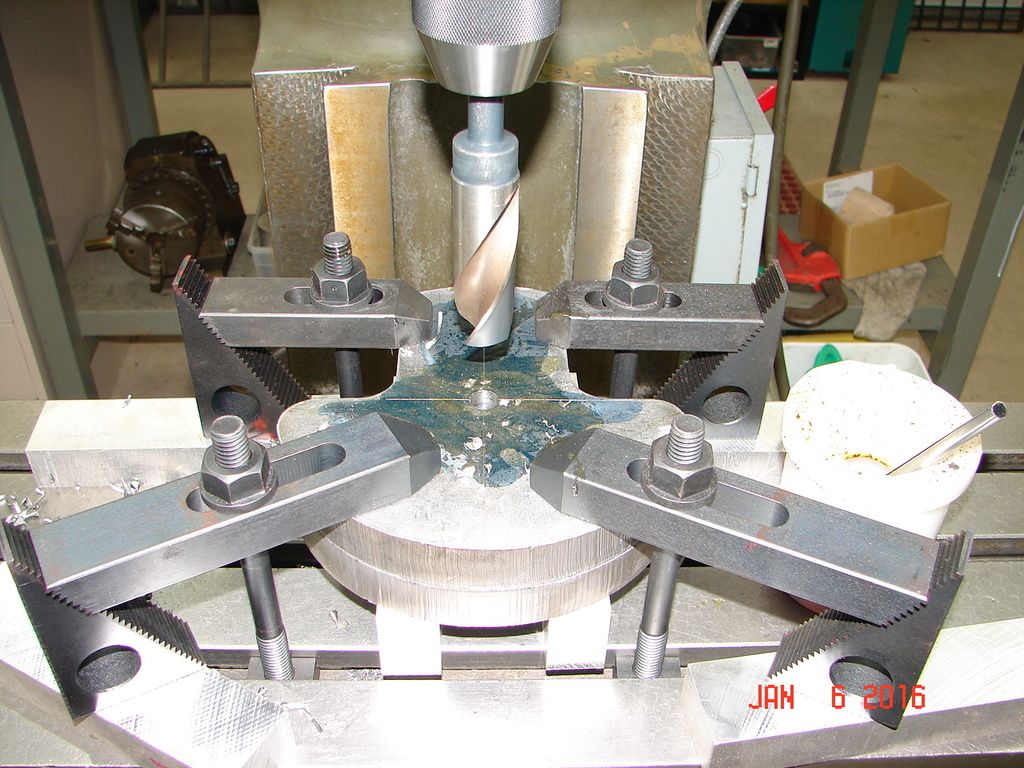
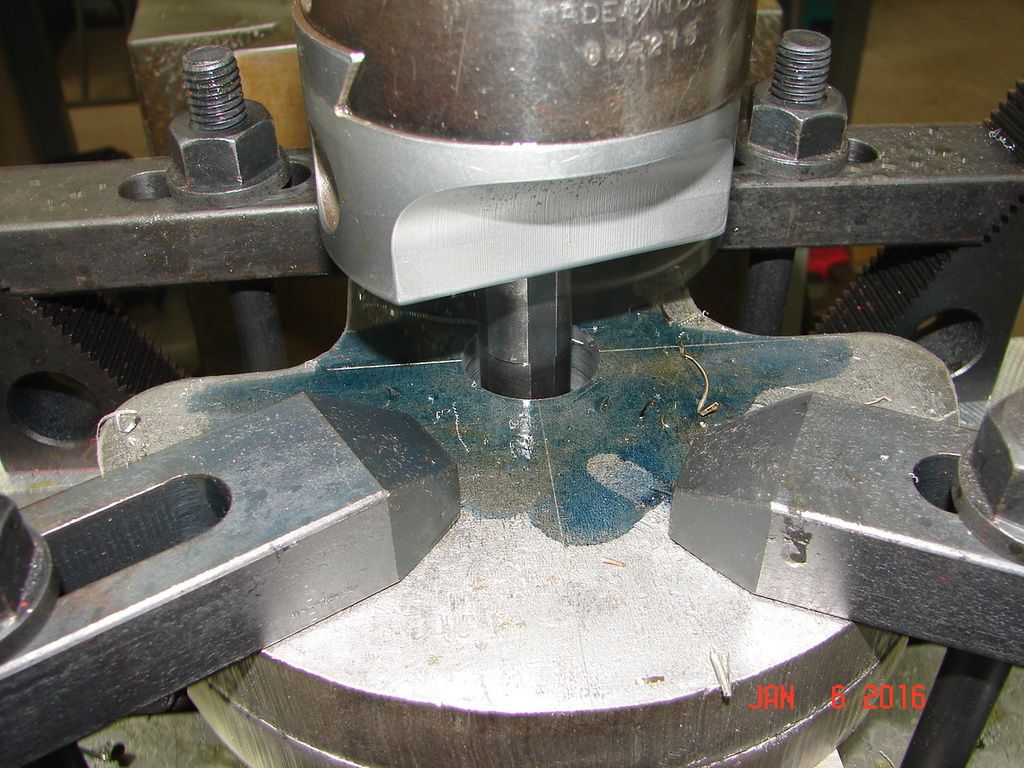
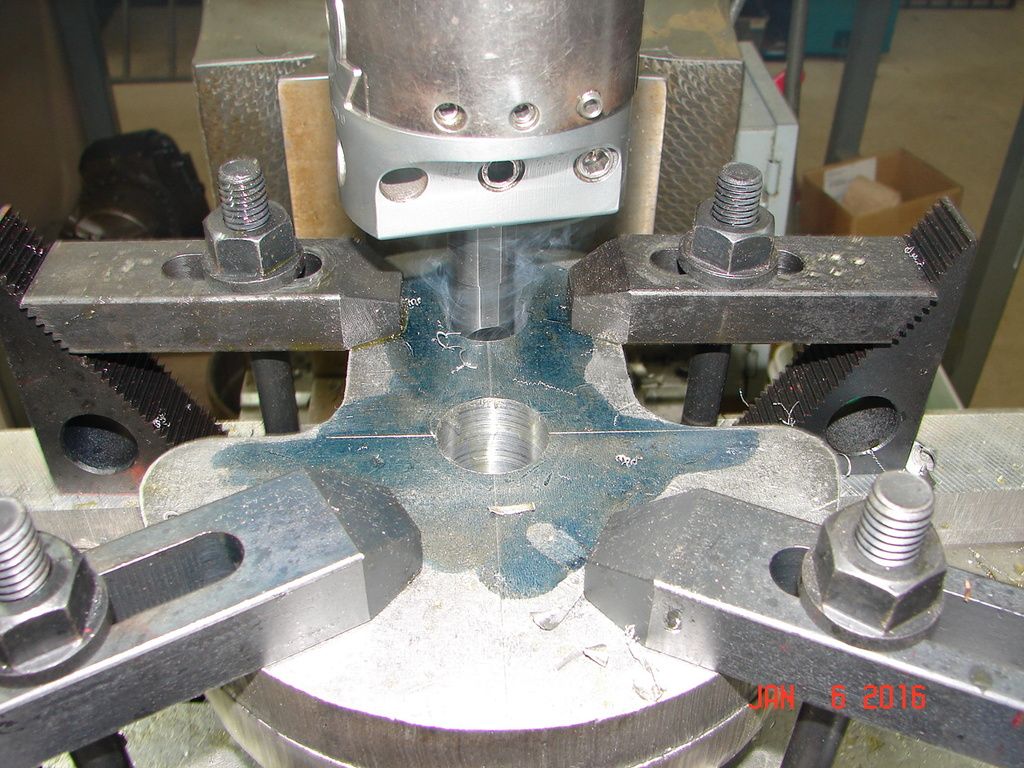
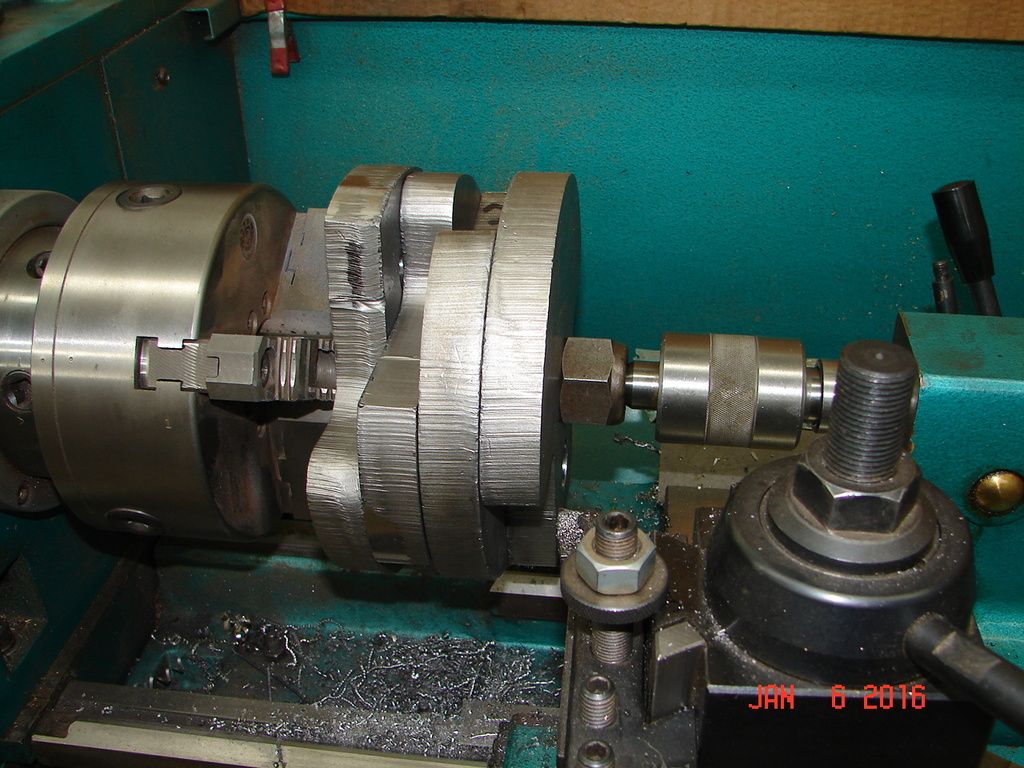
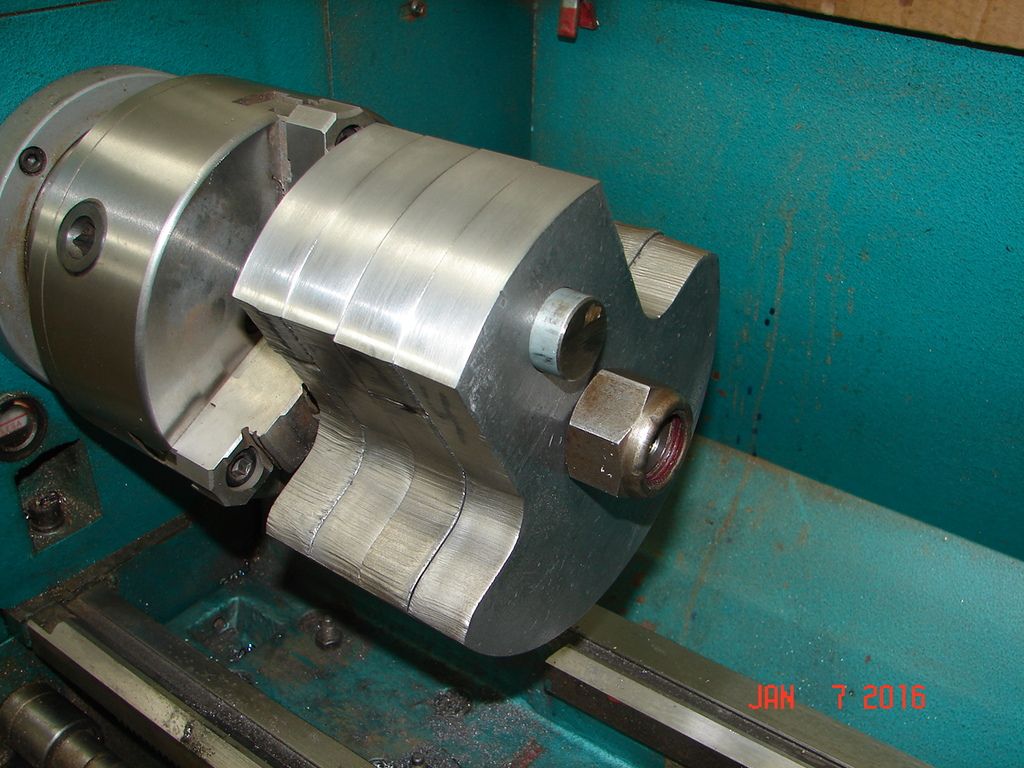
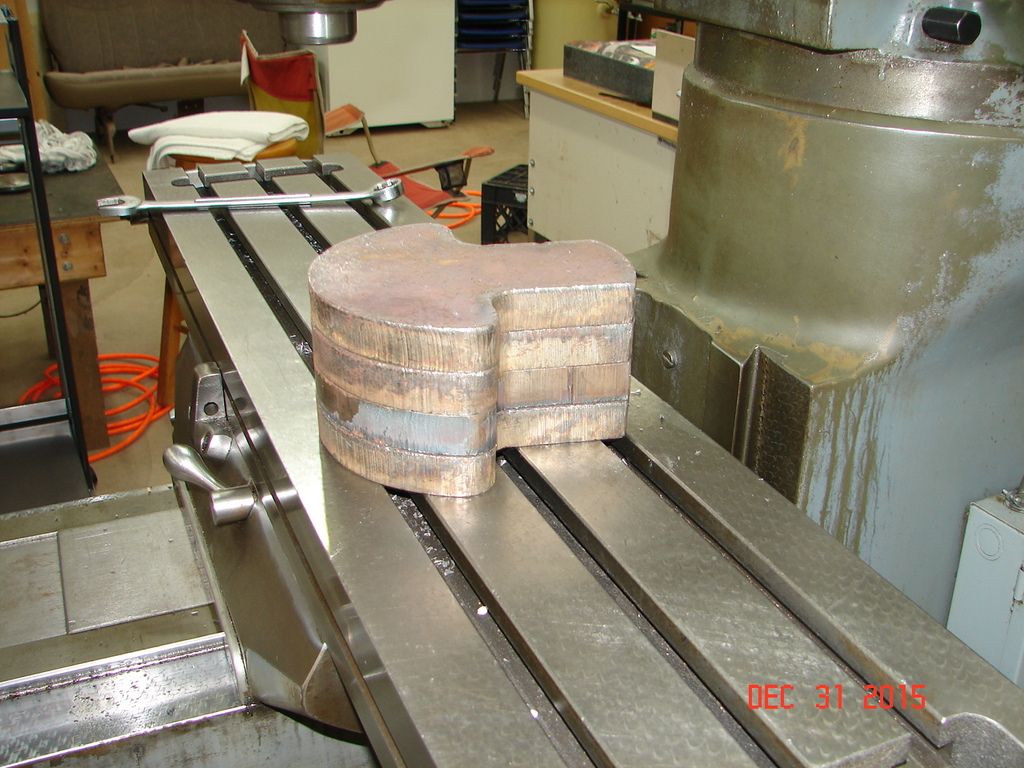
My plan for machining the webs is to do them in pairs ,or all 4 at once?, boring or drill and ream? to 1.125" (shaft size) then offsetting the 2 inches to bore, drill and ream 1" for the crankpin. After the shaft and crankpin holes are done I plan on putting all 4 webs on a shaft in the lathe and turn then all to a uniform diameter. Out side surfaces that do not clean up in the lathe will be sized in pairs on the mill. All 4 stacked up at once looks like it will be too much.
This is my first crankshaft of any kind all advice or criticism is welcomed.

Frank